There are no available FAQ’s for this post.

How to Provide Little Hinges with your Matterport Access
Overview
Method 1: Admin Setup
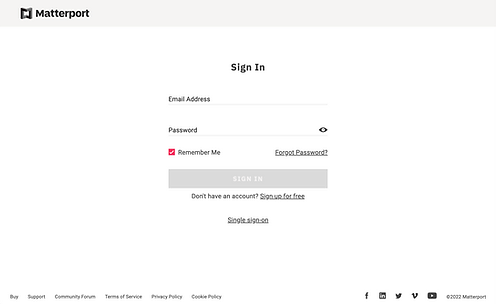
- Login to your Matterport Cloud Account

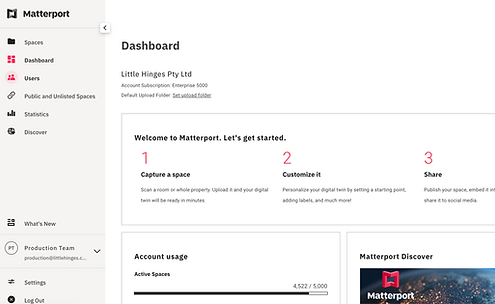
2. Click the ‘Users’ icon (along the side or top banner of the page, depending on your browser)

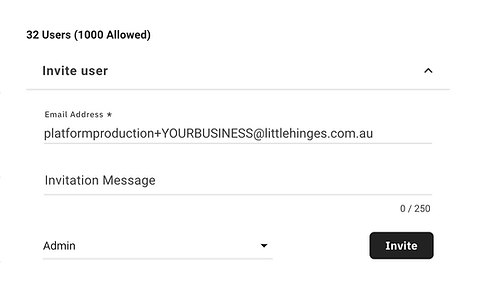
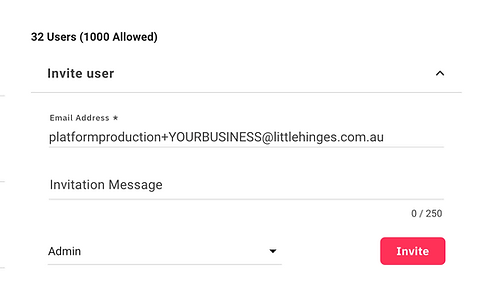
3. Click the ‘Invite User’ section on the right of the page.
4. Add our user email address.
We require a unique login to your account, which uses your business name within the email address.
E.g. if your business name is “YOUR BUSINESS”, you would enter platformproduction+YOURBUSINESS@littlehinges.com.au

6. Click the ‘Invite’ button
5. Make sure ‘Admin’ is selected

An email will be sent to us to confirm the account. Please note that activation may take up to 1 business day.
Method 2 : Shared Folder Setup
- Complete steps 1 – 4 from the above Method 1: Admin Setup
5. Make sure ‘Collaborator’ is selected
6. Click the ‘Invite’ button

After we have activated your invitation:
7. Create a folder that you can upload your 3D scans to for us to process.
Click ‘Spaces’ > ‘Create Folder’

8. Name this folder ‘New Uploads’
9. Click ‘Create’

10. Provide us Editor access. Click on the three dots near the heading and click ‘Share & Invite’.

11. Enter the “platformproduction+YOURBUSINESS@littlehinges.com.au” email address that you set up previously.
12. Make sure ‘Can edit’ is selected
13. Click ‘Invite’

FAQs
Frequently asked questions about How to Provide Little Hinges with your Matterport Access